
HTML <img> Tag: A Complete Guide to Displaying Images on Web Pages
The HTML <img> tag is one of the most fundamental elements for creating visually appealing web pages. This self-closing tag allows you to embed images directly into your HTML documents, enhancing user experience and providing visual context to your content.
Basic Syntax and Structure
The <img> tag uses a simple, straightforward syntax:
html
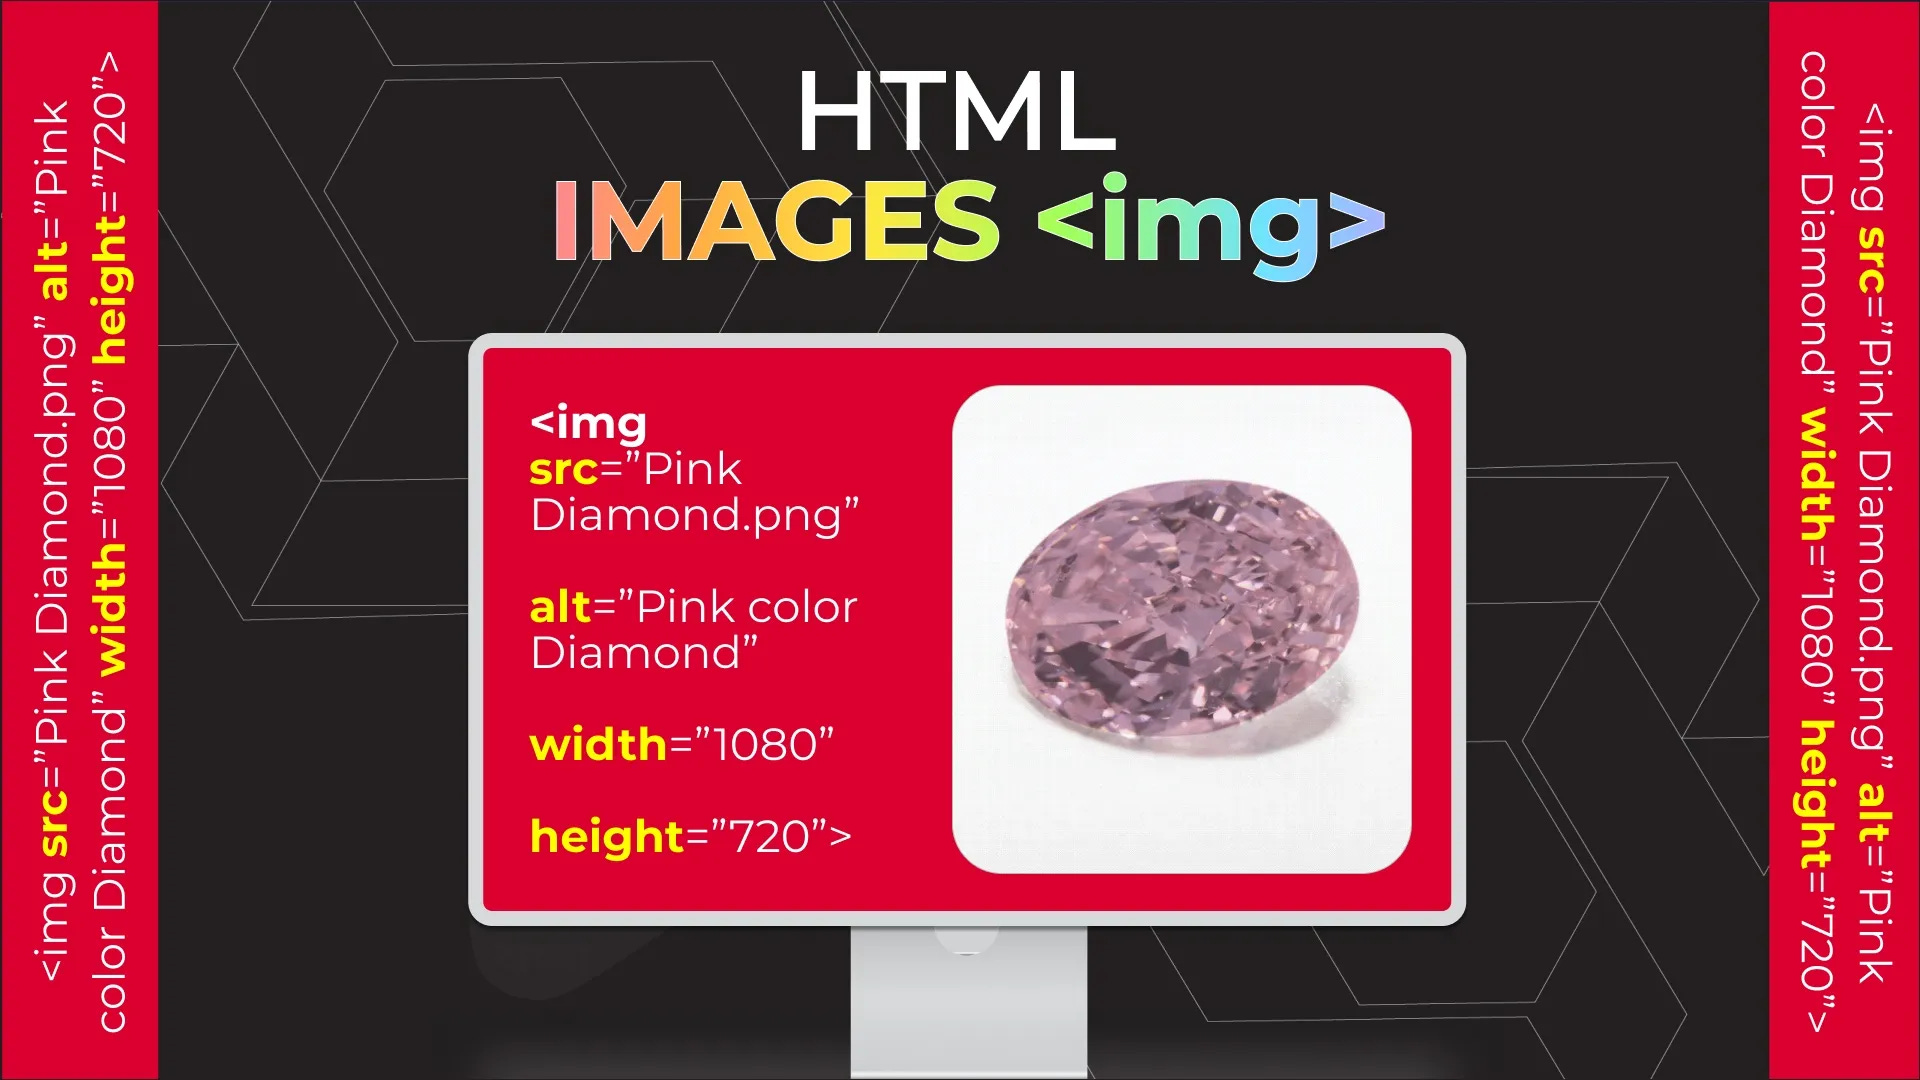
<img src="image-source.jpg" alt="Image description" width="400" height="300">
Unlike most HTML elements, the <img> tag is self-closing, meaning it doesn't require a closing tag. Instead, all attributes are contained within the single opening tag, which ends with a forward slash in XHTML format.
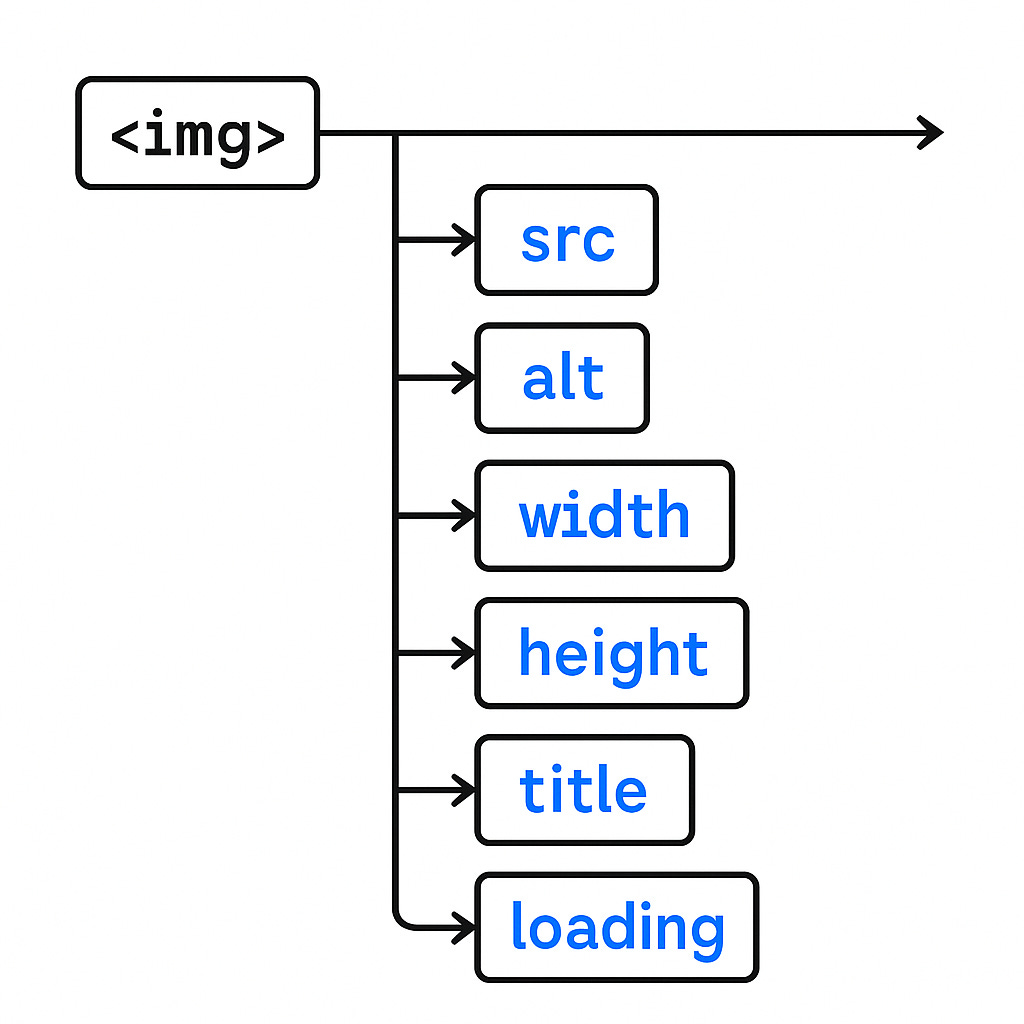
Essential Attributes
The src Attribute
The src (source) attribute is the most critical component of the <img> tag. It specifies the path or URL to the image file you want to display. There are two ways to specify the image source:
Absolute URL: Links to an external image hosted on another website
html
<img src="https://www.example.com/images/photo.jpg" alt="External image">
Relative URL: Links to an image hosted within your own website
html
<img src="images/photo.jpg" alt="Local image"> <img src="/assets/images/photo.jpg" alt="Root-relative path">
The browser uses the src attribute to locate and request the image file from the server. If the path is incorrect or the image doesn't exist, browsers will display a broken image icon.
The alt Attribute
The alt (alternative text) attribute is equally important and required for proper HTML validation. This attribute serves multiple crucial purposes:
Accessibility: Screen readers use alt text to describe images to visually impaired users
SEO Benefits: Search engines use alt text to understand and index images
Fallback Content: If an image fails to load, the alt text is displayed instead
xml
<img src="company-logo.png" alt="TechCorp Company Logo">
Width and Height Attributes
The width and height attributes control the display dimensions of your image:
xml
<img src="sunset.jpg" alt="Beautiful sunset" width="800" height="400">
Key benefits of specifying dimensions:
Prevents layout shifts: Browsers can reserve space before the image loads
Improves page performance: Reduces reflow and repaint operations
Better user experience: Pages appear more stable during loading
You can specify dimensions in several ways:
HTML attributes:
width="300" height="200"CSS properties:
style="width:300px;height:200px;"CSS classes with defined dimensions
How the <img> Tag Works in Practice
Browser Rendering Process
When a browser encounters an <img> tag, it follows a specific 5-stage pipeline:
Request/Fetch Stage: The browser immediately sends an HTTP request to retrieve the image from the specified
srcURLDownload Stage: The image file is downloaded and stored in the browser's cache
Decoding Stage: The compressed image file is converted into pixel data that can be displayed
Rendering Stage: The image is positioned and styled according to CSS rules, then rendered on screen
Repainting Stage: The page layout may be adjusted to accommodate the newly rendered image
Loading Behavior
Modern browsers support advanced loading techniques through additional attributes:
Lazy Loading:
xml<img src="below-fold.jpg" alt="Image below the fold" loading="lazy">
Defers image loading until the image approaches the viewport
Improves initial page load performance
Supported in Chrome 76+, Edge, Opera, and Firefox
Fetch Priority:
xml<img src="hero-image.jpg" alt="Hero image" fetchpriority="high">
Controls the priority of image downloads relative to other resources
Values:
high,low, orauto(default)
Responsive Images
For modern web development, you can create responsive images using additional attributes:
xml<img src="logo.png" alt="Company logo" srcset="logo-retina.png 2x, logo-retina-lg.png 3x" width="200" height="150">
The srcset attribute allows browsers to select the most appropriate image based on device pixel density.
Common Image Formats
HTML supports various image formats, each optimized for different use cases:
JPEG: Best for photographs and complex images with gradients
PNG: Ideal for images with transparency, logos, and sharp edges
GIF: Perfect for simple animations and images with limited colors
SVG: Scalable vector graphics for icons and simple illustrations
WebP: Modern format offering superior compression
Best Practices
Performance Optimization
Always specify dimensions to prevent layout shifts
Optimize file sizes through compression without sacrificing quality
Use appropriate formats for different image types
Implement lazy loading for images below the fold
Accessibility and SEO
Write meaningful alt text that describes the image content and purpose
Keep alt text concise but descriptive (typically under 100 characters)
Use empty alt attributes (
alt="") for decorative imagesEnsure proper contrast between images and surrounding text
Error Handling
When images fail to load, browsers display a broken image icon and the alt text. To minimize this:
Verify image paths are correct and accessible
Test images across different devices and network conditions
Provide meaningful alt text as a fallback
Consider using placeholder images during development
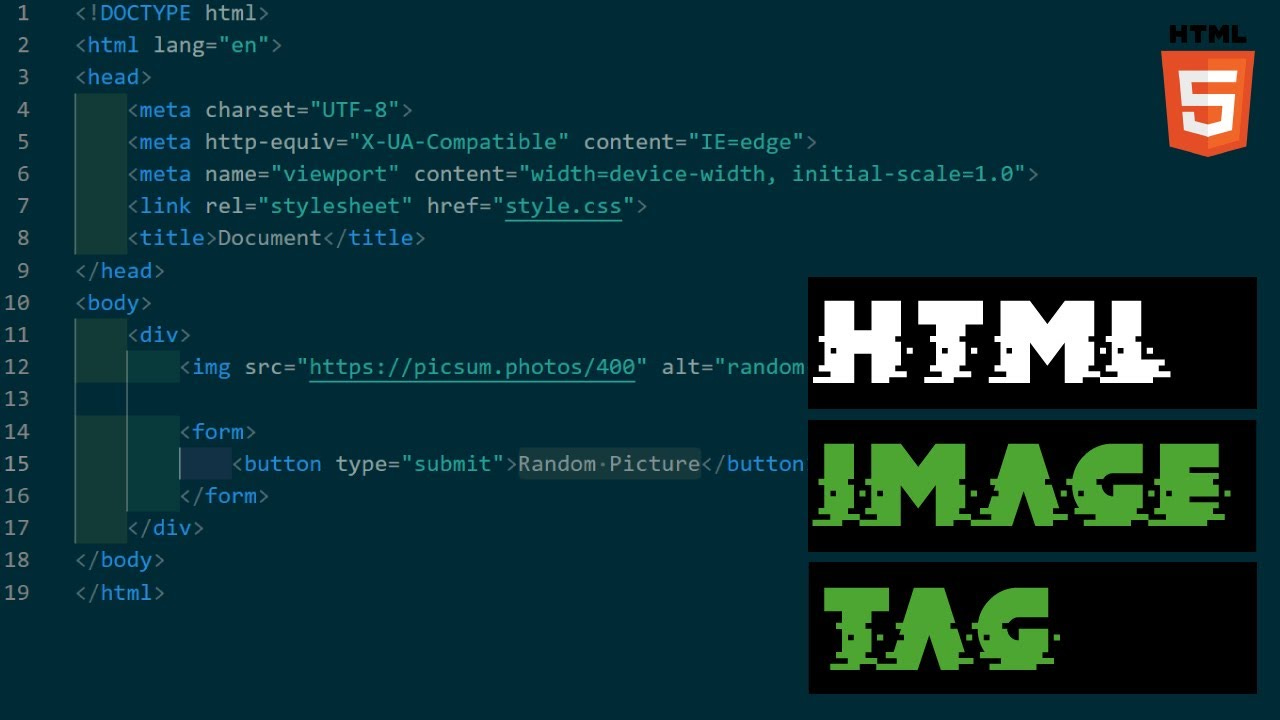
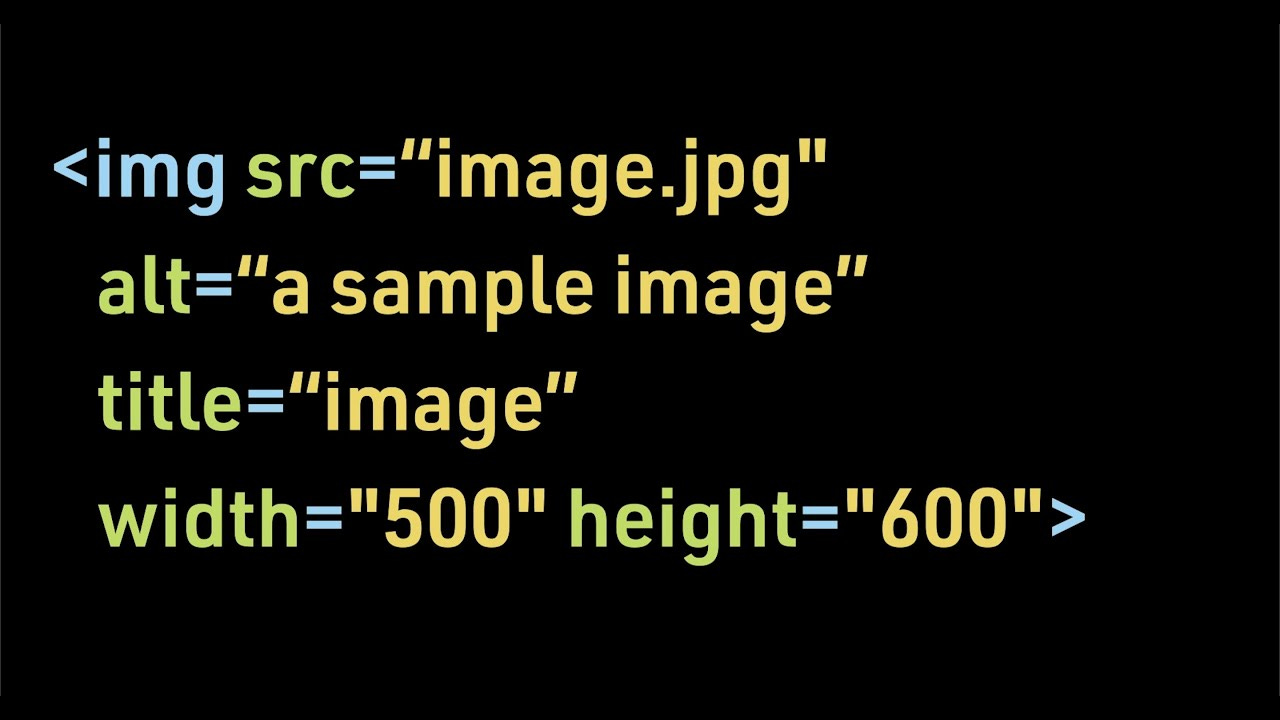
Example of using the HTML <img> tag with src and alt attributes to display an image on a webpage
Advanced Features
Image Maps
You can create clickable areas within images using image maps:
xml<img src="world-map.jpg" alt="World Map" usemap="#worldmap"> <map name="worldmap"> <area shape="rect" coords="0,0,100,100" href="europe.html" alt="Europe"> </map>
Clickable Images
Transform images into links by wrapping them in anchor tags:
xml<a href="gallery.html"> <img src="thumbnail.jpg" alt="View full gallery"> </a>
The HTML <img> tag is a powerful tool for web developers, offering both simplicity in basic usage and sophistication in advanced implementations. By understanding its core attributes and how browsers process images, you can create faster, more accessible, and visually appealing web pages that provide excellent user experiences across all devices and platforms.


Comments
Post a Comment